
Practice What You Learned
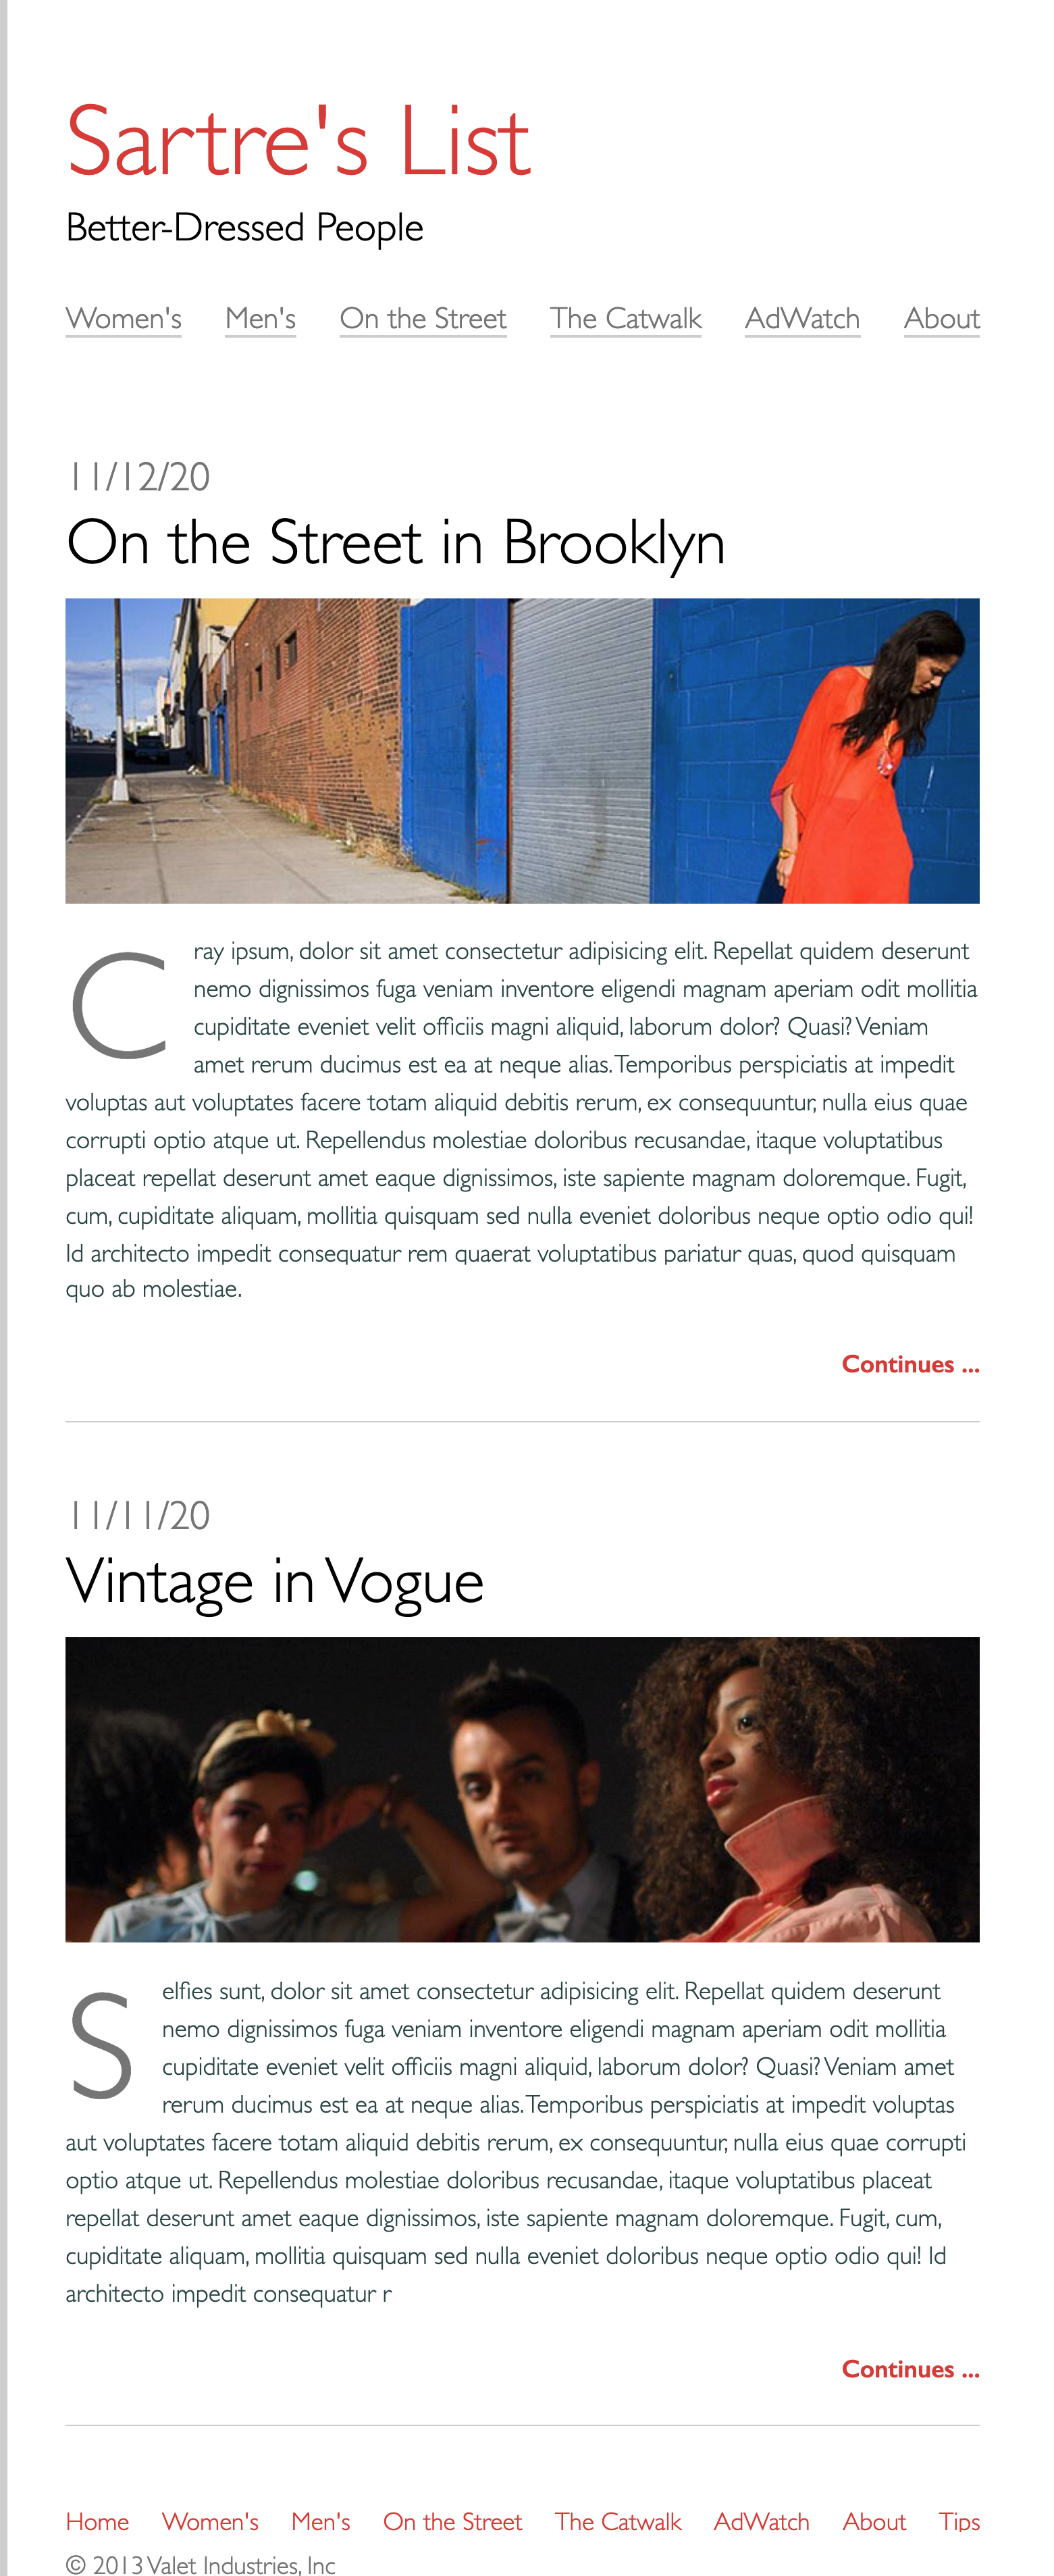
Fashion Blog (BUILD IN PLAIN HTML, Make locally, Push to Github, Deploy on Github Pages & Then remake in react and deploy to Netlify)
This will be submitted on Canvas, follow all below instructions carefully
The submission will be a link to your GitHub
Hone your skills in HTML & CSS by building a page that is based on a mock up!
Prerequisites
- HTML & CSS
- Flexbox
- React
Instructions
Download the following images


Requirements
Faithfully reproduce the mockup in HTML & CSS.
Build Your HTML
- Create your html boilerplate in the
index.htmlfile. - Add a new file called
style.cssand link it to the HTML file. - In the body of your HTML, use
header,main, andfootertags to clearly define the different parts of the page. - Use an
h1tag for the site title and anh2for the subtitle inside the page header. -
Use
navtags inside the page header to create an accessible navigation. Follow the example in the W3C Web Accessibility Initiative (WAI) Guidelines to format your navigation:- Wrap each link in an anchor tag
- Wrap each anchor tag in a list item
- Wrap all of the list item tags in an unordered list tag
- Place the unordered list inside the the nav tag and give it attributes for
aria-label="Main Navigation"androle="navigation"
- Mark up both of the blog posts using the
articletag. - Use this W3C WAI Guideline example, to help you structure your blog post content. Follow the pattern! Make sure there is a
ptag that contains some lorem ipsum text (Remember you can create this with Emmet by typingp>loremand pressing tab)! - Make sure your images all have
altattributes so that they are accessible. - Inside the page footer, use the same technique you used earlier to create a semantic and accessible navigation, using a wrapping
navtag, unordered list and the aria attributes. - Add a copyright in the
footer. For the © symbol, use an html entity.
Make sure to add and commit your changes when you've got the html done!
Style Your Page
- Use a
borderonly on the left side of the page'shtmlelement. It should have a width of5pxand a color oflightgray. - Set the
bodyelement'smin-heightto be at least 100% of the viewport height. Also, use thefont-familyproperty to set the entire page to usesans-seriffonts. - Give the
bodyamax-widthof1000pxand center it on the page with the margin auto technique. - The border is too close to our text and we've got an issue with margin-collapse at the top of the page! Add
paddingto theheader,mainandfooterelements of1remon the top and bottom and2remon the left and right to fix these issues. - For the
h1on the page we want the color to betomato. - Set all of the images to have a
widthof100%. - For your site navigation, you'll need to remove all of the padding on the
ulelements and then set it'slist-style-typetonone. It would be a good idea to use a class to style the navigation so that you can still make a bulleted list on your page. Use Flexbox to style theulfor the navigation elements. On the top navigation use thespace-betweenrule to have the menu items spread across their container evenly. Set the color for the anchors inside the main navigation to belightgrayand the footer navigation to betomato. - Style the title of each of your blog posts so that they are larger.
- Style the 'continues...' anchor tags so that they are aligned to the right and are bold and tomato colored.
- Set the margin on the bottom the
articletags to be4rem. Also, add a1pxsolid border inlightgrayto the bottom of each one and give each padding on the bottom of2rem. - For the
ptag inside yourarticle, use the pseudo-element ::first-letter to style the drop cap and set it's color tolightgray. - Style the copyright so it is
lightgray.
Awesome job, add, commit and push changes to create your pull request!
Part 2
- REMAKE ENTIRE PROJECT IN REACT and deploy to NETLIFY
- Use App.js, Header.js, Nav.js, Article.js, Footer.js
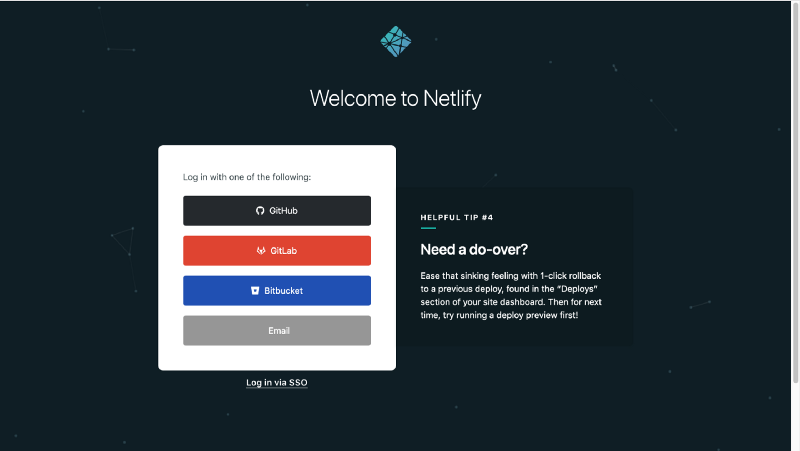
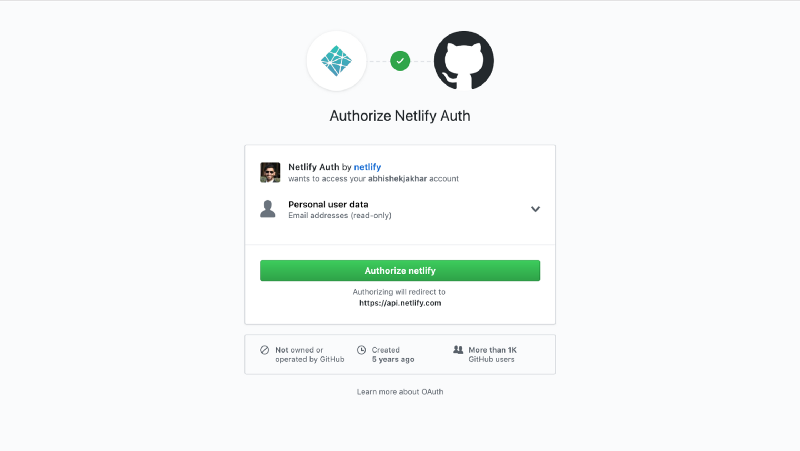
Deploy on Netlify
Link github to netlify for free
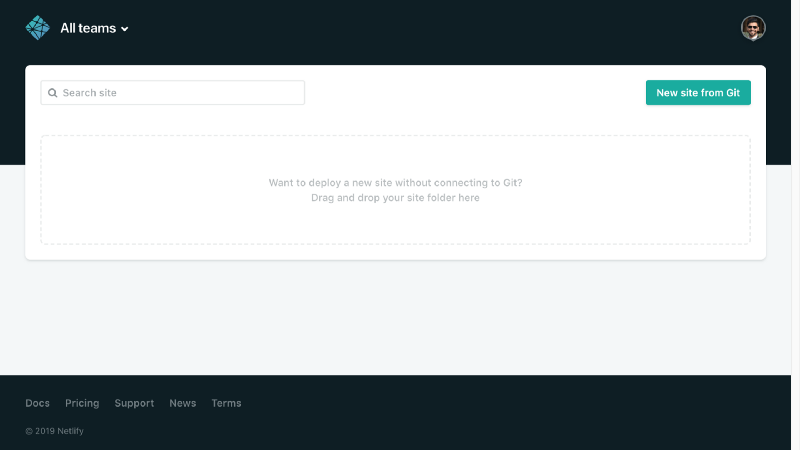
Run Build command in your app in the command line (For React app only)
npm run buildDrag and drop folder from your computer into netlify
Submission
In the github readme for your React Application - Remove all the React boilerplate information and replace with the following:
# [Netlify Live Link](netlify link here)
# [Github pages Live Link](github pages link of html version)
# [Github link of html version](github for html version here)